Drywall dust is notoriously difficult to remove completely. It is a fine, talcum-like powder that adheres to surfaces and infiltrates every corner of a space. Following a professional process using the correct tools is the only way to effectively achieve a truly clean, dust-free environment after construction or repairs.
Why Drywall Dust Is Hard to Remove
Drywall dust, primarily composed of calcium sulfate dihydrate ($\text{CaSO}_{4} \cdot 2\text{H}_{2}\text{O}$), has several physical characteristics that make it exceptionally challenging to manage.
Fine Particles Spread Through Air and HVAC Systems
The dust generated from sanding drywall compound is incredibly fine—often only $\text{2}$ to $\text{5}$ microns in size.
- Pervasiveness: These microscopic particles are light enough to stay suspended in the air for hours. They will travel through doorways, under protective sheeting, and into seemingly sealed rooms.
- HVAC Contamination: When dust gets into the ductwork of your heating, ventilation, and air conditioning ($\text{HVAC}$) system, it is recirculated throughout the entire building every time the system runs. If the system is not sealed off during sanding, the dust can ruin standard $\text{HVAC}$ filters and coat the interior of the ductwork.
Common Mistakes That Make Dust Linger
Many people unknowingly make the job harder by using standard cleaning tools and techniques.
- Sweeping with Brooms: Using a broom or brush to sweep up drywall dust simply launches the fine particles back into the air, where they will settle elsewhere, prolonging the cleanup cycle indefinitely.
- Using a Standard Household Vacuum: Most household vacuums, even those with paper bags, are designed for larger debris. The fine drywall dust passes directly through the filter and out the exhaust port, turning the vacuum into a giant dust blower.
- Too Much Water: Drywall compound is designed to dissolve when wet. Using too much water (like when using a wet mop or sponge) turns the dust into a pasty, sticky mud that smears across the surface, making it extremely difficult to wipe or mop off without leaving streaks.
Tools and Equipment You’ll Need
Success in drywall cleanup is all about filtration and particle capture. Do not attempt this job without the right equipment.
HEPA Vacuum, Microfiber Mops, and Respirator Mask
| Tool/Item | Purpose | Why It’s Essential |
| HEPA Vacuum | Dry vacuuming all surfaces (floors, walls, ceiling) | HEPA (High Efficiency Particulate Air) filters trap $\text{99.97\%}$ of particles down to $\text{0.3}$ microns, ensuring the fine dust is captured, not expelled. |
| Microfiber Cloths/Mops | Damp wiping all surfaces | Microfiber uses static electricity and capillary action to trap and hold fine particles, minimizing smearing. |
| Respirator Mask | Personal protection | Protects your lungs from inhaling $\text{CaSO}_{4}$ particles, which can cause irritation and respiratory issues. A minimum $\text{N95}$ rating is recommended. |
| Gloves and Goggles | Personal protection | Protects skin from drying chemicals and prevents dust from irritating eyes. |
| Plastic Sheeting/Tape | Sealing off areas | Used to isolate the work area from the rest of the house before cleaning begins. |
Step-by-Step Cleaning Process
Always work from top to bottom, from the ceiling down to the floor, and from the back of the room toward the exit.
Step 1: Start by Dry Vacuuming Surfaces
Before any water is introduced, you must remove the maximum amount of loose dust using the $\text{HEPA}$ vacuum.
- Ceilings and Walls: Start at the highest point and use a soft-bristle brush attachment on the $\text{HEPA}$ vacuum to gently remove dust from the ceiling, light fixtures, and walls.
- Baseboards and Fixtures: Vacuum all horizontal surfaces, including baseboards, window sills, electrical outlets, and built-in shelving.
- Floors: Vacuum the entire floor area. For hard floors, use a soft floor attachment, making slow, overlapping passes to ensure all dust is captured.
- Ductwork: If the $\text{HVAC}$ vents were not sealed, vacuum inside the vents as much as possible, including the first $\text{6}$ to $\text{12}$ inches of the duct opening.
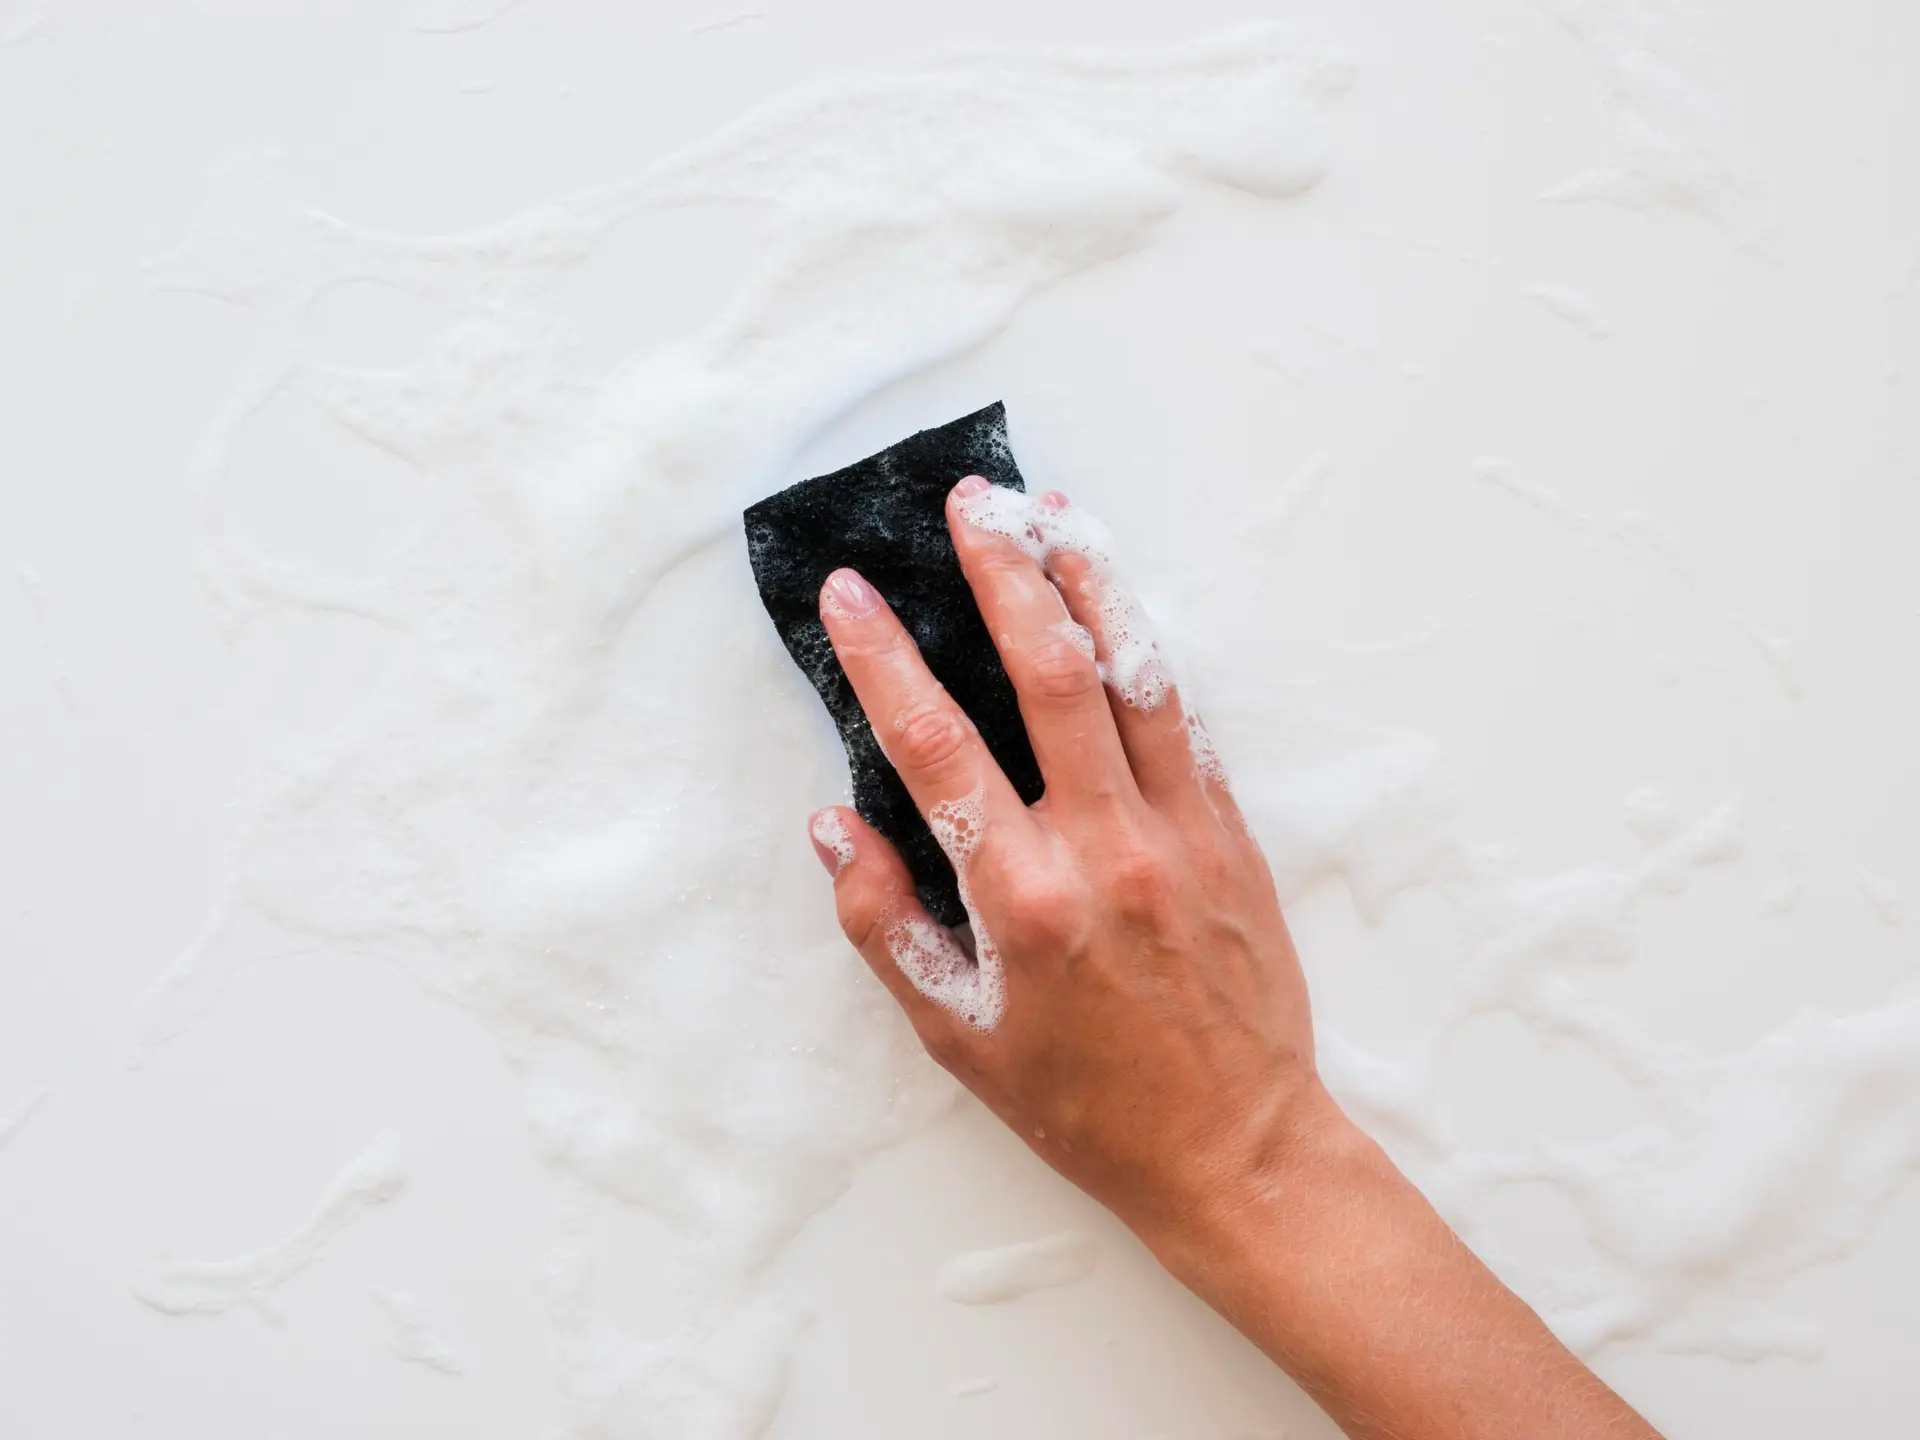
Step 2: Wipe with Damp Microfiber Cloths
Now you move on to damp cleaning to capture the residual film of dust. The key here is damp, not soaking wet.
- Preparation: Fill two buckets: one with warm, clean water and one with a mild, all-purpose cleaner solution.
- Wipe and Rinse: Dip the microfiber cloth into the cleaning solution, wring it out very tightly, and wipe the surface (walls, trim, cabinets). Immediately follow up with a second damp cloth (rinsed in the clean water bucket) to remove any residue.
- Change Water Frequently: The water will turn cloudy quickly. Change the cleaning and rinse water often to prevent transferring dust back onto the clean surfaces.
- Final Floor Mopping: Use a microfiber flat mop with a slightly damp pad to perform the final clean on the floors. Work in small sections, changing the mop head or rinsing it frequently.
Step 3: Change HVAC Filters After Cleaning
This is a step most people forget, but it is critical for long-term air quality.
- Post-Cleaning Maintenance: Once the entire area is clean and the air has settled for a few hours, turn off the $\text{HVAC}$ system, open the furnace/air handler, and immediately remove and replace the main air filter, as it will be saturated with dust.
- Run System: Use a higher-quality filter (like $\text{MERV 13}$) and run the system for several hours to clear any lingering air dust.
Post-Cleanup Tips
Plan ahead for a cleaner future and take final air scrubbing measures.
Seal Ducts and Cover Vents Before Sanding Next Time
The most effective cleanup is preventing the spread in the first place. Before any sanding occurs:
- Cover Vents: Tape painter’s plastic securely over all supply and return vents in and near the work area.
- Create Negative Pressure: If possible, place a window fan blowing out of the room (not in) to pull dust out and create negative pressure, minimizing dust migration into other rooms.
Use Air Purifiers for 24 Hours After
After you have completed the physical cleaning, use a portable air purifier with a true $\text{HEPA}$ filter in the renovated area. Run it continuously for $\text{24}$ to $\text{48}$ hours. This will capture the final, minuscule particles that settle out of the air, ensuring the air quality is fully restored.
FAQs
Can I mop drywall dust with water?
Using a standard wet mop or bucket of water is highly discouraged. When drywall dust mixes with excess water, it instantly forms a thin layer of plaster (mud) that will smear and set hard, coating your floors and making them look worse than before. Only use a damp, tightly wrung-out microfiber cloth or mop pad, ensuring you rinse and replace the water constantly.
Is drywall dust harmful to breathe?
Yes, prolonged or excessive exposure to airborne drywall dust can be harmful. It is classified as a nuisance dust, but it can cause immediate irritation to the eyes, nose, and throat. More seriously, long-term inhalation of the fine particulate matter can cause respiratory issues, including persistent coughing, chronic bronchitis, and irritation of the upper airways. Always wear a $\text{HEPA}$-rated respirator mask when sanding or performing the initial dry vacuuming cleanup.