
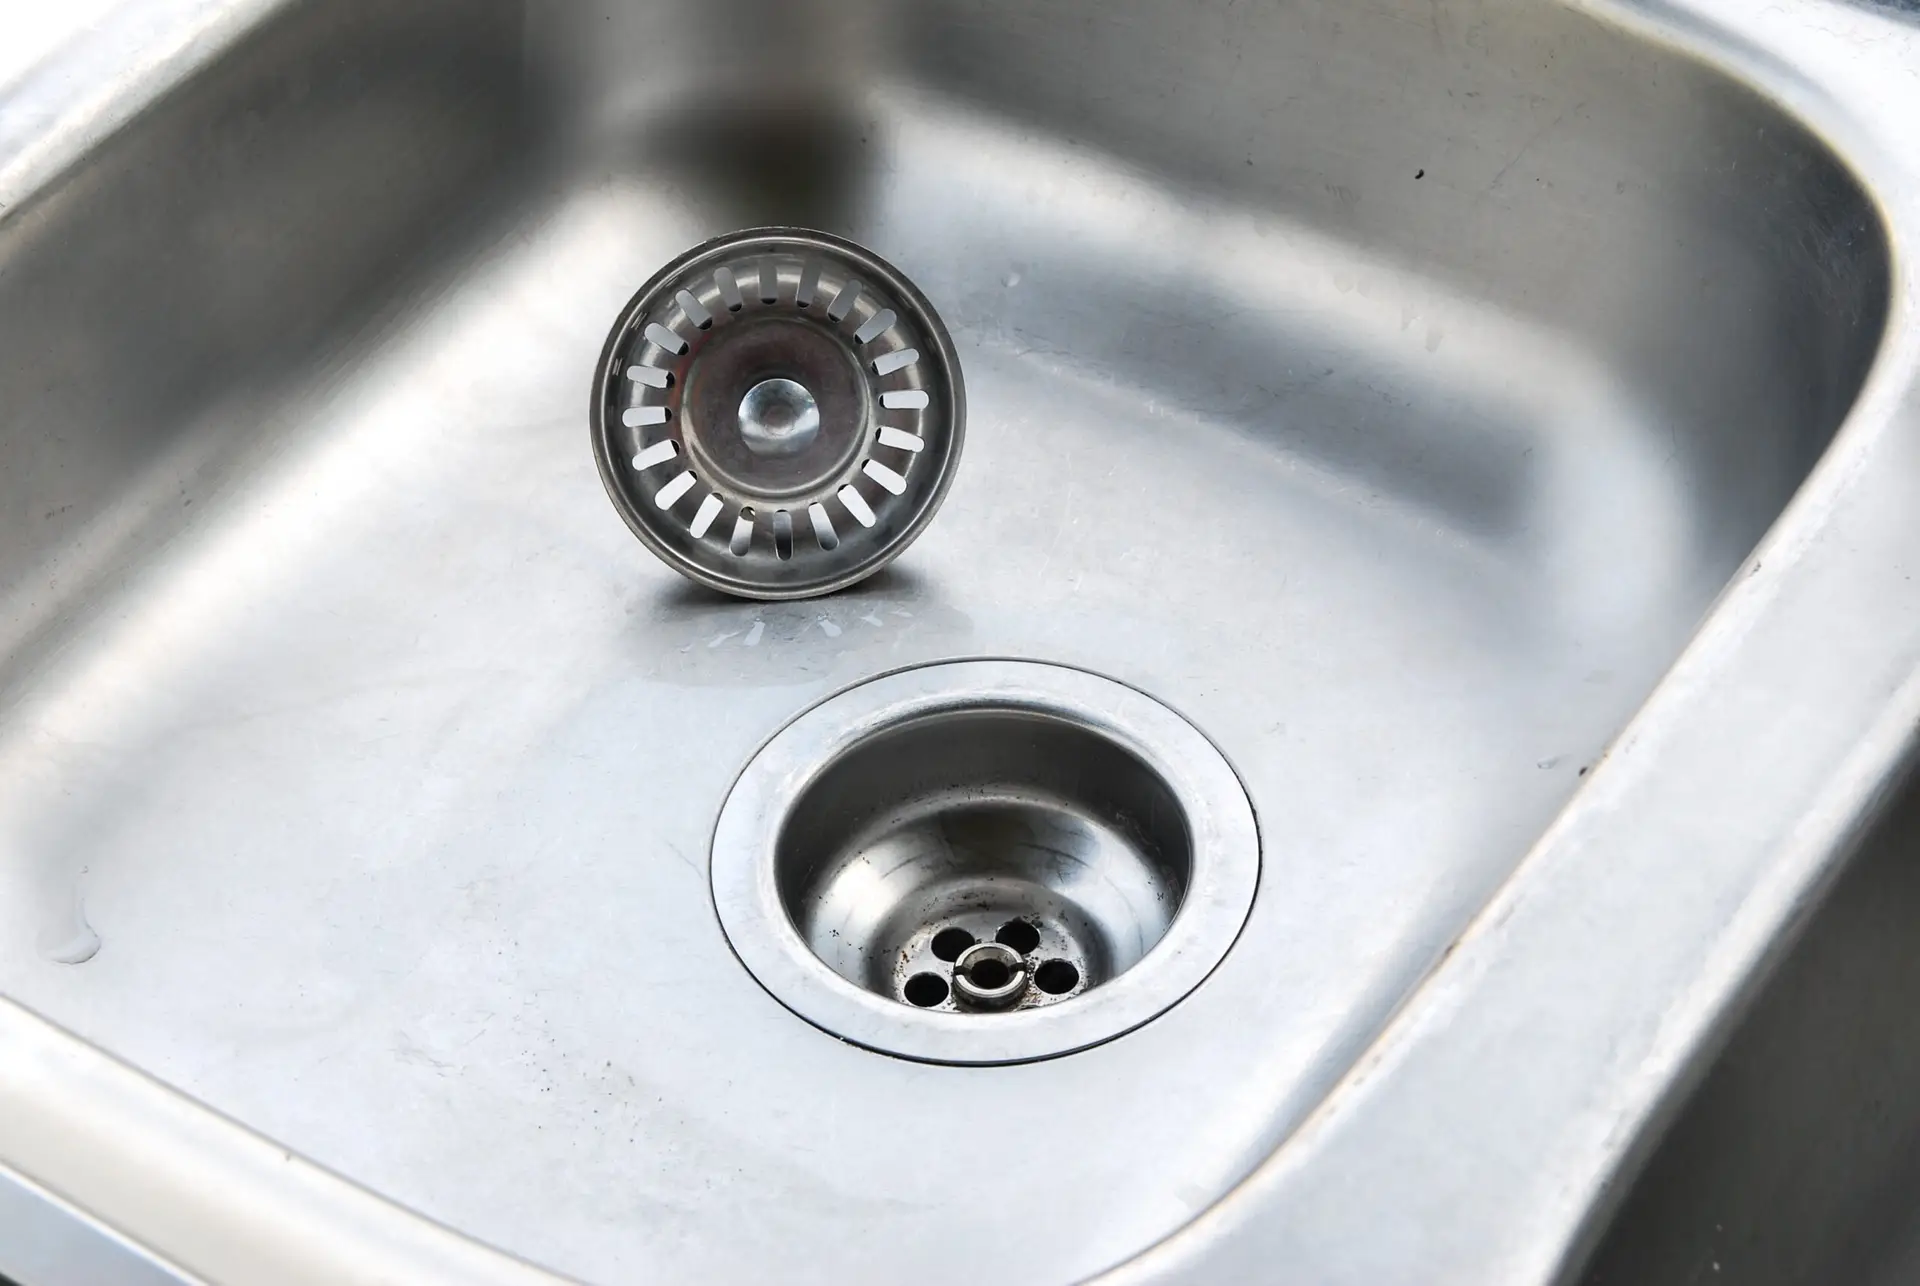
Stainless steel sinks are staples in kitchens due to their durability and sleek, modern look. However, the term “stainless” is often misunderstood; it means the steel is less likely to stain or rust than ordinary steel, but it is not impervious to damage. Maintaining the longevity and shine of a stainless steel sink requires specific, non-abrasive care to protect the microscopic passive layer that prevents corrosion.
Why Stainless Steel Needs Special Care
The resilience of stainless steel comes from its composition, primarily its chromium content. When chromium is exposed to oxygen, it forms a thin, invisible layer of chromium oxide—the passive layer—which resists rust and corrosion. Damage to this layer is the primary cause of pitting, dullness, and stains.
How Water Minerals and Acids Dull the Finish
The two biggest enemies of a sparkling stainless steel sink are hard water deposits and prolonged exposure to certain chemicals.
- Hard Water Minerals (Limescale): Water high in calcium and magnesium leaves mineral deposits (limescale) when it evaporates. These white, chalky spots dull the reflective finish and can trap moisture, making the underlying steel susceptible to corrosion.
- Acids and Chlorine: Leaving concentrated acidic substances (like highly acidic tomato sauce, lemon juice, or mustard) on the surface for extended periods can cause pitting. More critically, common household chemicals containing chlorine (such as bleach or chlorine-based scouring powders) are highly corrosive to stainless steel and can quickly damage the passive layer, leading to irreparable brown spots and corrosion.
Why You Should Avoid Abrasive Pads
The finish on a stainless steel sink is defined by a specific grain (or brush pattern). Cleaning across the grain or using abrasive tools causes damage in two ways:
- Scratching: Steel wool, scouring powders, and highly abrasive sponges leave visible micro-scratches. These scratches dull the surface, making it look hazy and older.
- Corrosion Risk: Deep scratches break through the protective chromium oxide passive layer. While the steel will try to “re-passivate” (re-form the layer), continuous damage prevents this, leaving the raw metal exposed to moisture and oxygen, which can eventually lead to rust or pitting. Always clean with the grain.
Best Cleaners for Daily Use
For routine cleaning, the simplest and gentlest methods are the most effective at preserving the sink’s integrity and shine.
Gentle Dish Soap and Microfiber Cloths
For daily cleanup, dish soap is the ideal cleaner. It acts as a powerful surfactant, breaking down the greasy film and oily residues left behind by food prep and dishwashing.
- Technique: Apply a few drops of mild dish detergent (like those designed for sensitive hands) to a soft microfiber cloth or sponge. Wipe the entire sink basin, paying special attention to the corners and around the drain.
- Rinsing: Immediately rinse the soap thoroughly with warm water. Soap residue, if left to dry, can actually attract more dirt and leave a dull film.
- Drying: This is the most crucial step: always wipe the sink completely dry with a clean, dry microfiber cloth after rinsing to prevent water spots and limescale buildup.
Stainless Steel Polish or Cream-Based Cleaners
Dedicated stainless steel cleaners are formulated to safely remove buildup while incorporating conditioning agents, often mineral oils, that help restore the deep luster.
- Purpose: These products are excellent for a weekly or monthly deep clean to remove light oxidation and restore the factory-applied finish.
- Application: Apply a small amount of the polish or cream to a microfiber cloth. Rub gently, following the direction of the grain. If you cannot see the grain (typically horizontal or vertical lines), feel for the direction where the cloth glides most smoothly.
- Buffing: After applying the cleaner/polish, use a separate, dry cloth to buff the surface to a brilliant, streak-free shine.
DIY Cleaning Solutions
If you prefer to skip commercial products, common household items can effectively clean, brighten, and polish stainless steel safely.
Baking Soda and Lemon Juice Paste
This mixture safely tackles food stains and light discoloration while providing a non-scratch scrub.
- The Paste: Mix $\frac{1}{2}$ cup of baking soda with $2$ tablespoons of warm water and $1$ tablespoon of lemon juice until it forms a creamy paste.
- Cleaning Action: Baking soda acts as a mild abrasive to physically lift stains, while the mild acidity of the lemon juice helps dissolve water spots and brighten the surface.
- Application & Rinse: Apply the paste with a soft sponge and scrub with the grain of the steel. Because lemon juice is an acid, do not let the paste sit for more than $5$ minutes. Rinse the paste off completely and immediately dry the sink.
Olive Oil or Vinegar for Polishing
After a deep clean, you can use these items to achieve a final, professional-looking polish.
- White Vinegar (Shine and Sanitizing): Undiluted white vinegar can be sprayed directly on the sink. It quickly evaporates and is highly effective at dissolving any remaining water spots, leaving a streak-free shine. Rinse and dry quickly.
- Olive Oil (Protection and Luster): To make the sink repel fingerprints and deepen the shine, apply a few drops of olive oil or mineral oil to a clean, dry microfiber cloth. Rub the oil into the stainless steel, following the grain. Use the cloth to buff the surface until it looks glossy, not greasy. This thin oil barrier helps protect the surface.
Long-Term Maintenance Tips
Consistency in small daily habits is the most critical factor in preventing the deterioration of your stainless steel sink.
Rinse and Wipe Dry After Every Use
This single tip is the most effective way to maintain a new-looking sink. Every time you use the sink—whether washing a dish, rinsing a glass, or draining pasta—take an extra minute to perform a quick wipe-down.
- Prevents Limescale: Wiping away standing water ensures that the minerals found in hard water do not have a chance to dry and bond to the surface.
- Prevents Pitting: Eliminating residual moisture prevents the formation of concentrated solutions (like leftover saltwater or cleaning chemical residue) which accelerate corrosion.
Avoid Leaving Wet Sponges or Utensils in the Sink
Never allow metal objects or perpetually damp items to rest on the stainless steel surface for long periods.
- Wet Sponges/Rags: These trap moisture and create a continuous, wet environment, which encourages the growth of bacteria and can trap corrosive materials against the metal.
- Metal Utensils: If iron, carbon steel, or aluminum objects (like cans, knives, or pots) are left wet on the surface, they can cause galvanic corrosion or leave tiny iron deposits that oxidize into rust spots on the stainless steel itself. Immediately remove and dry metal items.
FAQs
Can I use bleach in a stainless steel sink?
No. You should never use liquid chlorine bleach (sodium hypochlorite) or cleaners containing chlorine on stainless steel.
Chlorine ions are extremely corrosive and are known to damage the passive layer of the steel. Even a diluted, brief application of bleach can cause:
- Pitting: Tiny pinholes in the surface.
- Flash Rust: Brown spots appearing almost immediately.
- Corrosion: Permanent damage that cannot be repaired without professional refinishing.
If you require sanitization, use household cleaners based on hydrogen peroxide, alcohol, or quaternary ammonium compounds (quats).
How do I remove rust spots safely?
If you notice small orange or brown rust spots (which are usually deposits from external materials like rusty cookware, not the sink itself), they must be removed immediately.
- Chemical Lift: Use a specialized non-bleach stainless steel cleaner that contains oxalic acid, such as Bar Keeper’s Friend (in a liquid or paste form, never the powder).
- Mechanical Removal: Apply a small amount of the cleaner to a soft sponge or cloth. Gently rub the spot with the grain until the rust is gone.
- Rinse: Rinse the area completely and thoroughly to remove all traces of the chemical and debris.
- Polish: Follow up with a polishing oil to re-seal and protect the exposed area.
Maintaining a brilliant stainless steel finish requires attention to detail—especially making sure everything is rinsed and dried properly!
Ready to tackle the rest of your kitchen with the same level of care and expertise? Tammy’s Crew Cleaning specializes in detailed cleaning methods that protect all your surfaces, from stainless steel to delicate natural stone.
Contact Tammy’s Crew Cleaning today for a free estimate and let us restore the shine to your entire home!