Hardwood floors add a timeless beauty and warmth to any home, but they require a gentle touch, especially when it comes to cleaning. While they’re durable, they can be easily damaged by excess water and harsh chemicals. Knowing how to mop them correctly is the key to keeping them looking stunning for years.
Why hardwood floors need special care
Unlike tile or linoleum, wood is a natural, porous material. Its surface is protected by a finish, but this finish can be compromised by moisture and abrasive cleaners. When water seeps into the wood, it can cause the planks to warp, swell, or crack. Harsh cleaning solutions can strip the finish, leaving the wood dull and unprotected. Proper care is essential to preserve their beauty and value.
Tools and cleaning solutions safe for hardwood
Before you start, make sure you have the right tools. Using the wrong equipment is the fastest way to damage your floors.
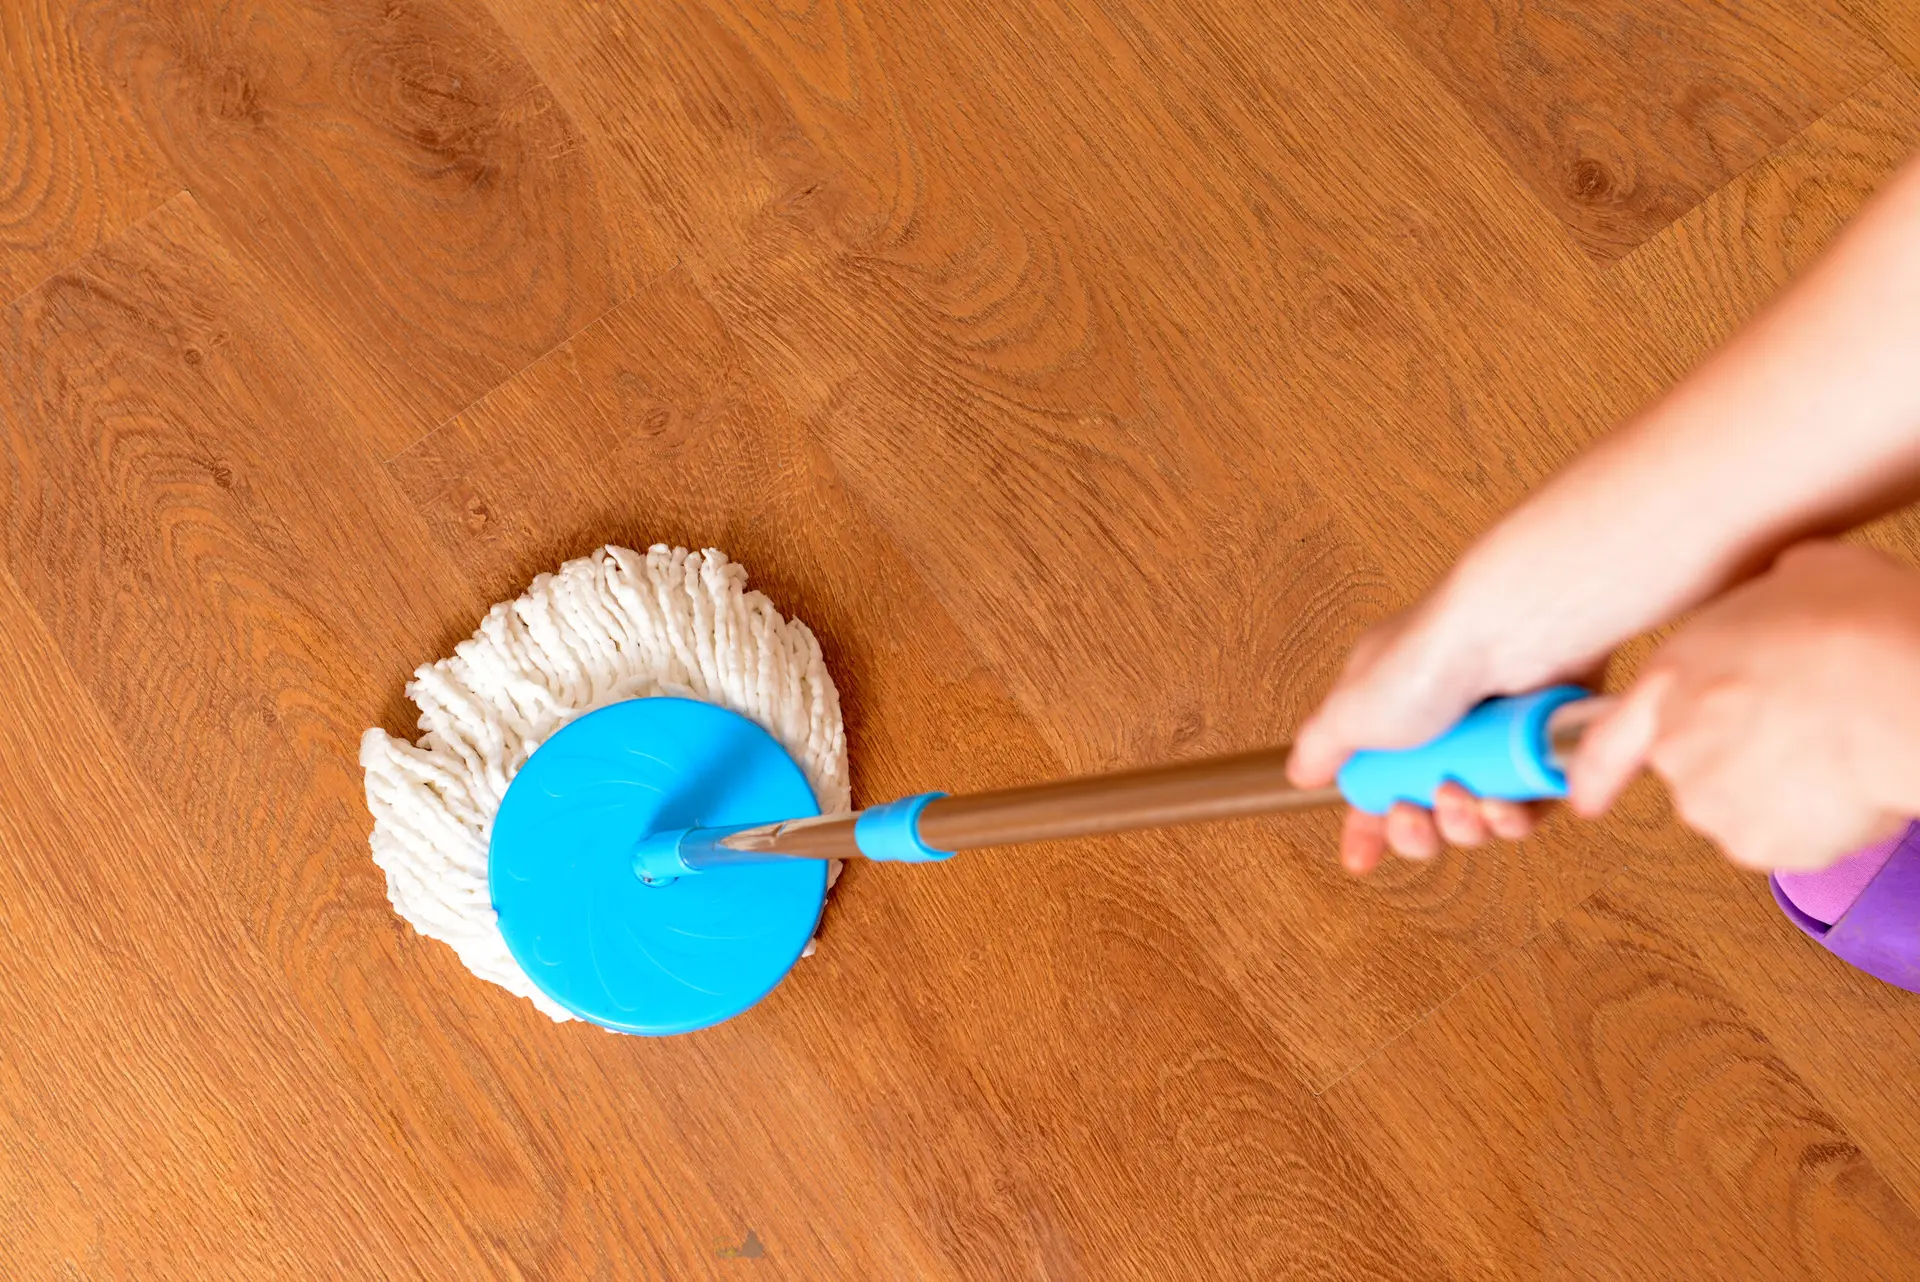
- Mop: Use a microfiber mop with a flat, removable head. These are designed to be used damp and are great for trapping dirt without leaving excess water. Avoid traditional string mops.
- Cleaning Solution: A commercial hardwood floor cleaner is your safest bet. For a simple and safe DIY option, mix a few drops of a gentle, pH-neutral dish soap in a bucket of warm water. Avoid vinegar, ammonia-based cleaners, or any all-purpose cleaners, as they can damage the finish.
Step 1 – Sweep or vacuum before mopping
This is the most critical first step. Never apply a damp mop to a dusty or gritty floor. All the loose dirt, hair, and grit will turn into a muddy sludge that can scratch your floor’s finish. Use a soft-bristle broom or a vacuum cleaner with a hardwood floor attachment to thoroughly remove all surface debris.
Step 2 – Use a damp (not wet) mop
This is the golden rule of mopping hardwood. Your mop should be barely damp—not dripping wet. The goal is to clean with as little moisture as possible.
- Dip your microfiber mop head into the cleaning solution.
- Wring it out until it is almost dry. It should feel slightly moist to the touch, not sopping wet.
- Mop the floor in the direction of the wood grain to remove dirt and grime.
Step 3 – Dry immediately to prevent water damage
Even a small amount of standing water can be harmful to your hardwood floors. After mopping a section, use a clean, dry microfiber cloth or a separate dry mop to immediately wipe up any remaining moisture. This ensures no water is left to damage the wood or the finish.
Mistakes to avoid when mopping hardwood floors
- Using a Wet Mop: This is the number one cause of water damage and warping.
- Using Harsh Chemicals: Avoid vinegar, ammonia, and oil-based soaps. They can strip the finish and leave a residue.
- Using a Steam Mop: Steam can force moisture deep into the wood and warp the planks.
- Not Sweeping First: Mopping over debris can scratch and permanently damage the finish.
- Letting Water Sit: Never let puddles or standing water remain on your floor.
Following these simple steps will keep your hardwood floors looking beautiful and healthy. For a truly deep and professional clean that goes beyond the surface, contact Tammy’s Crew Cleaning today to schedule an appointment with our hardwood floor specialists.